Last update: 07-03-2025
In the following article we will explain you how to scale images in the Acrelia campaign editor in a quick and easy way. Thanks to this tool, you won't need to edit your images before importing them.
1. How to scale the images of a campaign
1.1 Setting the background colour
1.2 Align the image
1.3 Add the fill
1.4 Scale the image
2. Scaling images: use cases
2.1 Adapt your logo
2.2 Matching images in blocks of more than one column
2.3 Reducing the size of an image in a campaign
In Acrelia's campaign editor, whenever you add any of the content blocks with images, you will have the possibility to scale the images you need so that they adapt perfectly to the design you want.
To do this, simply place the mouse over the image and click on the "Scale image" button that appears in the top centre. This will take you to the scaling panel.
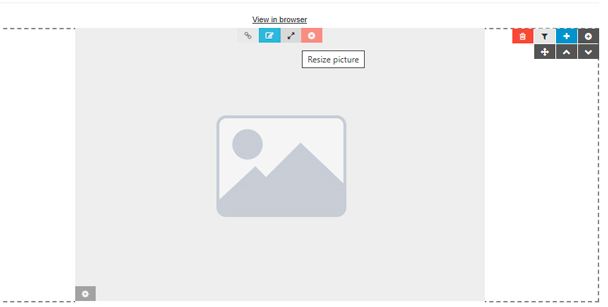
The first thing you need to do to scale an image is to select the photo you want to edit. You can do this by clicking on the block you have added to open the file manager, or, once you are in the scaling panel, click on the "Select image" button at the top left.
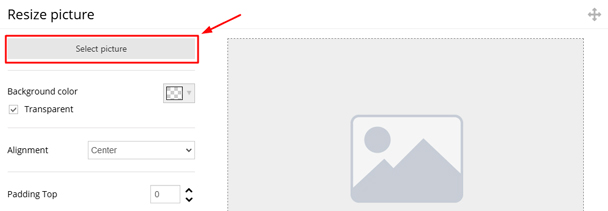
Below, we show you all the options available to you in the Acrelia image scaling panel.
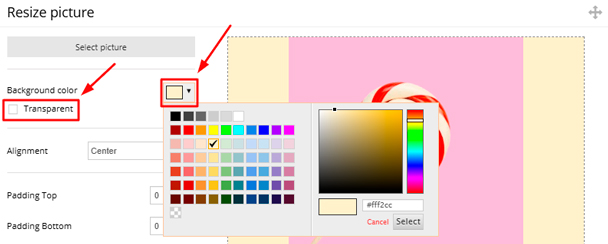
Do you want to apply a specific background colour to your image? In that case, to select the colour you want to apply, you must uncheck the "Transparent" box at the top left and click on the box to the right of it.
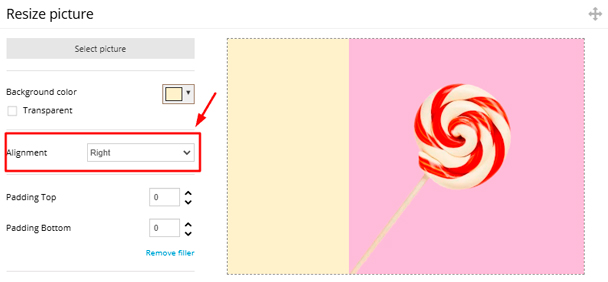
In the "Alignment" section, you can select from the drop-down menu whether you want to align the image to the right, to the left or keep it in the centre.
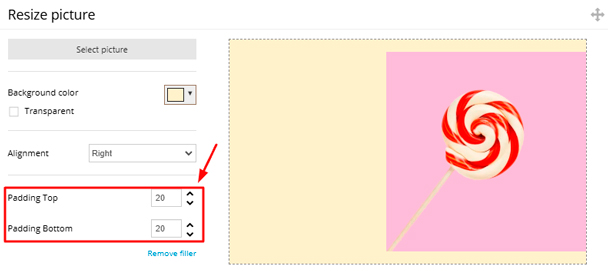
You also have the possibility to add padding to the bottom and/or top of the image you are scaling. You can do this by typing the value directly in the boxes under "Padding Top" and "Padding Bottom" or by clicking on the arrows next to them.
To scale the image, simply move the bar at the bottom of the image or enter the corresponding numerical value in the box under "Resize". While you make the changes, as in the rest of the actions, you will be able to see the changes in real time in the panel.
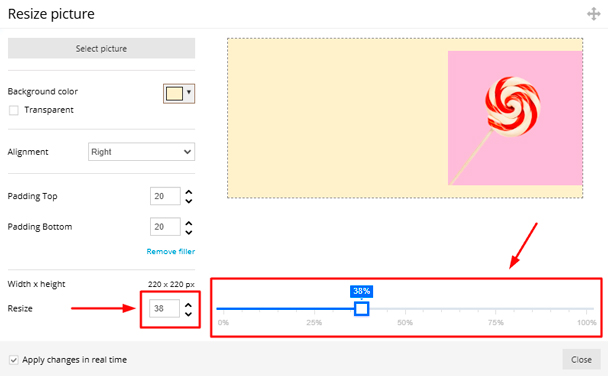
Note that if you have checked the "Apply changes in real time" box at the bottom left, all the changes you configure will be instantly applied to your campaign. Also, so that you can view your changes without having to close the scaling panel, you can move the window by dragging it from the top of the window.
If you prefer to be the one to determine when the changes you are making to the image should be applied, uncheck the "Apply changes in real time" box and once you want the modifications to be applied, click on the "Apply" or "Apply and close" button.

The "scale images" tool is very useful in a variety of cases. Here are a few use cases to show you the many possibilities it offers.
Is your logo banner too big to be added to the header of your email campaigns? With the "scale images" tool you simply import it into Acrelia and adapt it according to your preferences. An image that previously occupied half of your campaign, once scaled, will have the perfect size for your newsletter to have a professional design.

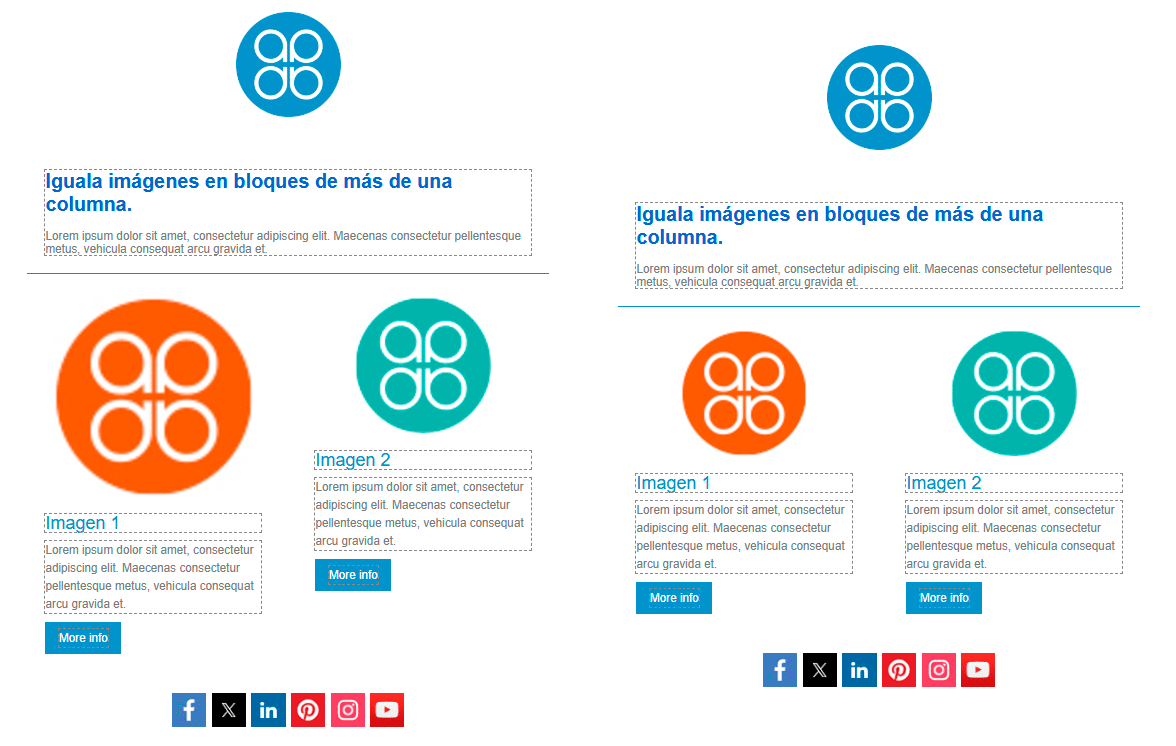
If you want to use any of our blocks of more than 1 column in your campaigns, and the images you have are of different heights, for example, thanks to the scaling tool, you will be able to adapt them so that they are all in line.
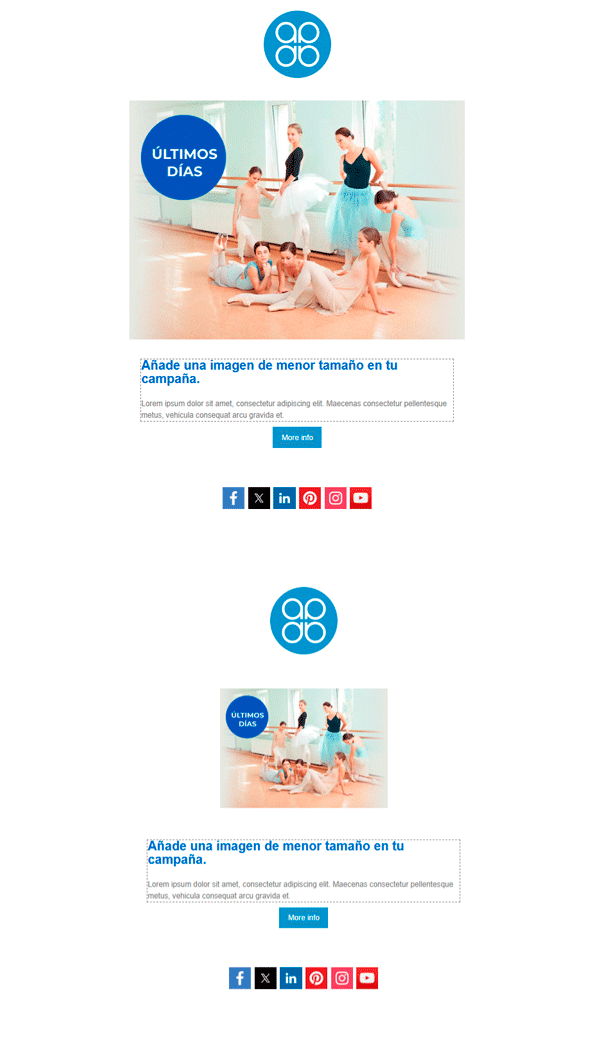
If you want to add smaller images in any of the Acrelia blocks, you can scale the image to reduce its size and adapt it to the design needs you are looking for.
Book a free demo
Our experts will advise you on the best Email Marketing solution for your business.